The pictures on this page has been limited in size so that those will low-resolution screens will not have to scroll through the picture. If the interested reader would like to see a bigger image of a particular picture, do the following:
(1) Right click on the picture.
(2) Choose "save as", from the menu that pops up, then specify a filename to download the picture as.
(3) Import the resulting jpeg file into any word processor program, and resize it to get whatever size picture you prefer.
All of the text below refers to the picture
which appears above it.
|
|
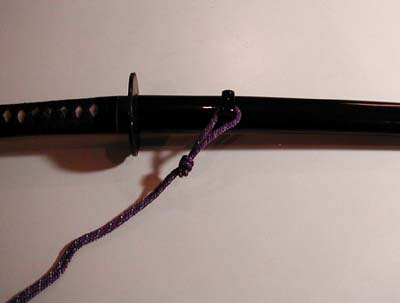
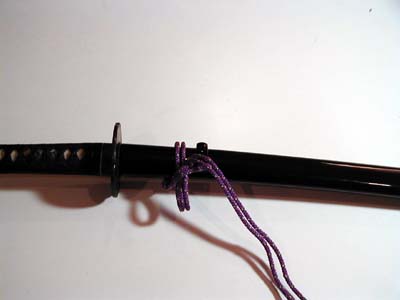
Lay the sword with the kurigata, the cord
retaining knob, up, with the hilt to the left. Bring the sageo toward you
and out to the left. I have left the knot which secures the sageo tied,
as it will be behind the saya when the cho musubi is tied, and does not
impede tying the cho musubi. If your knot is in a different place, it may
be necessary to untie it.
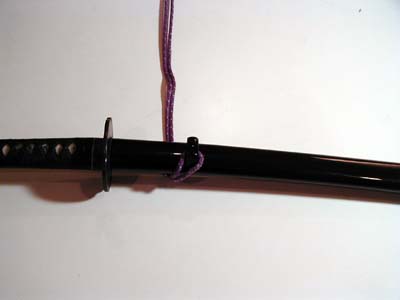 |
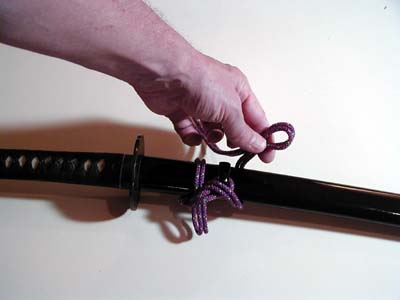
Lift the saya, and pass the sageo under
it, so that the tail end goes away from you, as shown.
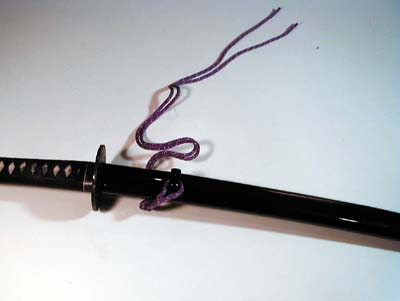 |
Form a loop, by bending the tail back on
itself as shown.
 |
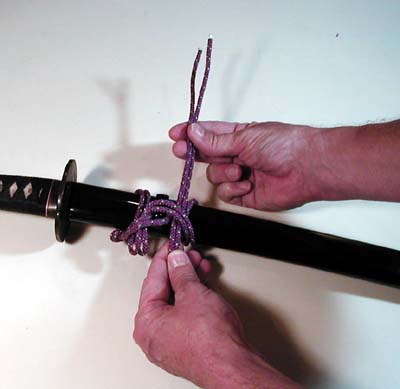
Insert the loop toward you underneath the
portion of the sageo which lies to the left of the kurigata and passes
behind the saya, as shown.
 |
Now pull the tail toward you, and trail
it off to the right of the kurigata, being careful not to disturb the first
loop. If necessary, you may hold the first loop in position while you do
this.
 |
Now, lift the saya, and pass the tail underneath
the saya, extending it away from you, as shown.
 |
Form another loop from the tail by bending
it back on itself, as shown.
 |
Insert this second loop under the portion
of the sageo which emerges from the first loop passing to the right of
the kurigata then underneath the saya.
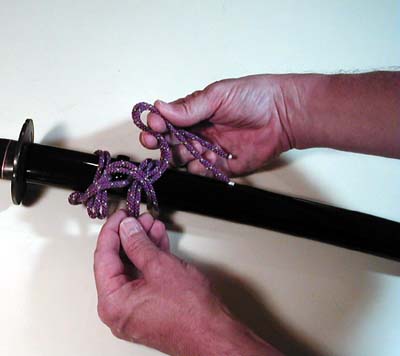 |
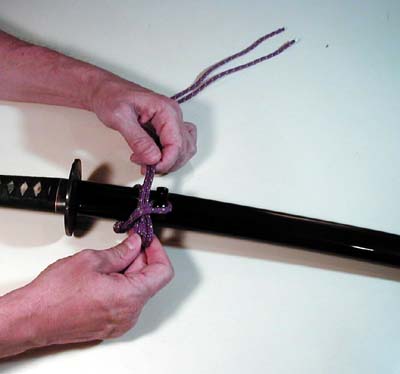
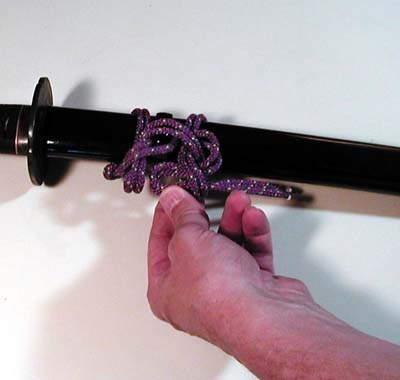
Holding the second loop in place with your
left hand, form a third loop from the remaining tail. This loop will be
inserted from right to left through the second loop, then through
the first loop.
 |
In the picture above, the third loop has
been passed through the second loop, and will now be passed through the
first.
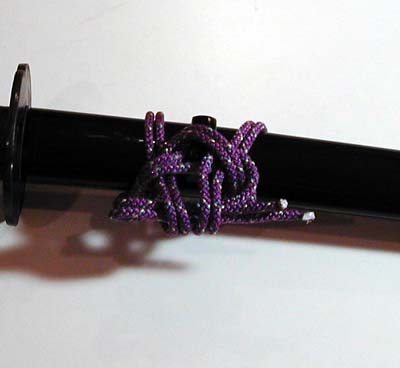 |
In the picture above, you can see the third loop has been inserted through both the second and first loops. The short tail extends to the right.
Now, starting carefully back with the cord
at the kurigata, follow the cord and tighten up all sections of the cord,
being careful to retain the structure of the knot. This, frankly, takes
a little practice. It is basically a process of starting at the beginning
of the knot, tensioning the first section of the knot, then holding that
section in place against the saya while tightening up the next section.
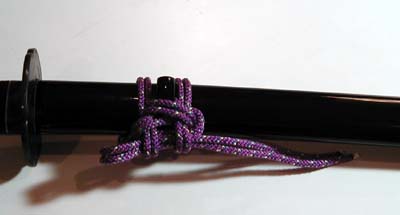 |
The finished knot.